Seeking a clever, eco-friendly approach to save your utility costs and conserve water? A rainwater harvesting system is a sustainable solution ideal for any kind of environmentally responsible way of living. Gathering and storing rainwater will help you organically sustain your garden. Moreover, it will lessen your dependence on municipal water and advance green technology at home. In this short guide, we’ll explain the step-by-step method of creating a rainwater harvesting system. Read on!
Understand the Benefits of Rainwater Harvesting
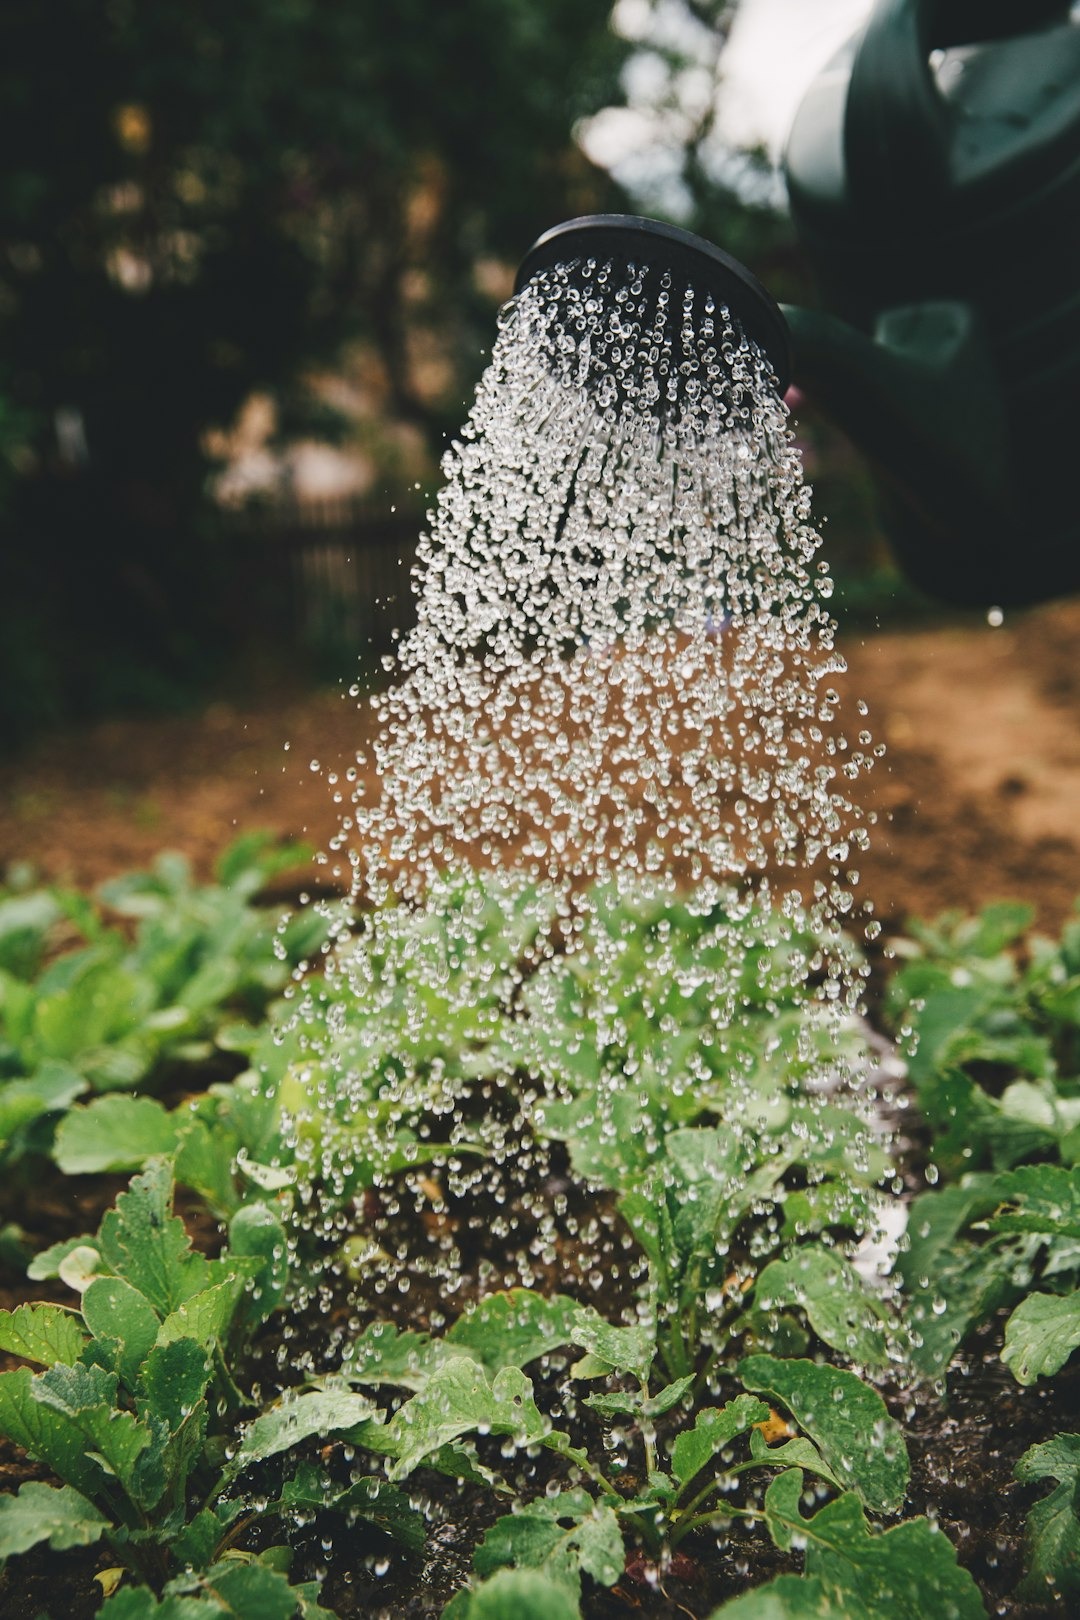
Lower water bills: Use collected water for irrigation and cleaning.
Reduce runoff pollution: Prevents excess water from overwhelming storm drains.
Support plants and gardens: Rainwater is chemical-free and perfect for plants.
1. Choose a Collection Area
Your roof offers the ideal gathering area. Start by spotting a sloped portion of your roof that directs rainfall into a downspout. Water you can gather increases with increasing surface area. Especially if you intend to utilize your roof for gardening, make sure your chosen materials are safe for water collection.
2. Install a Gutter System

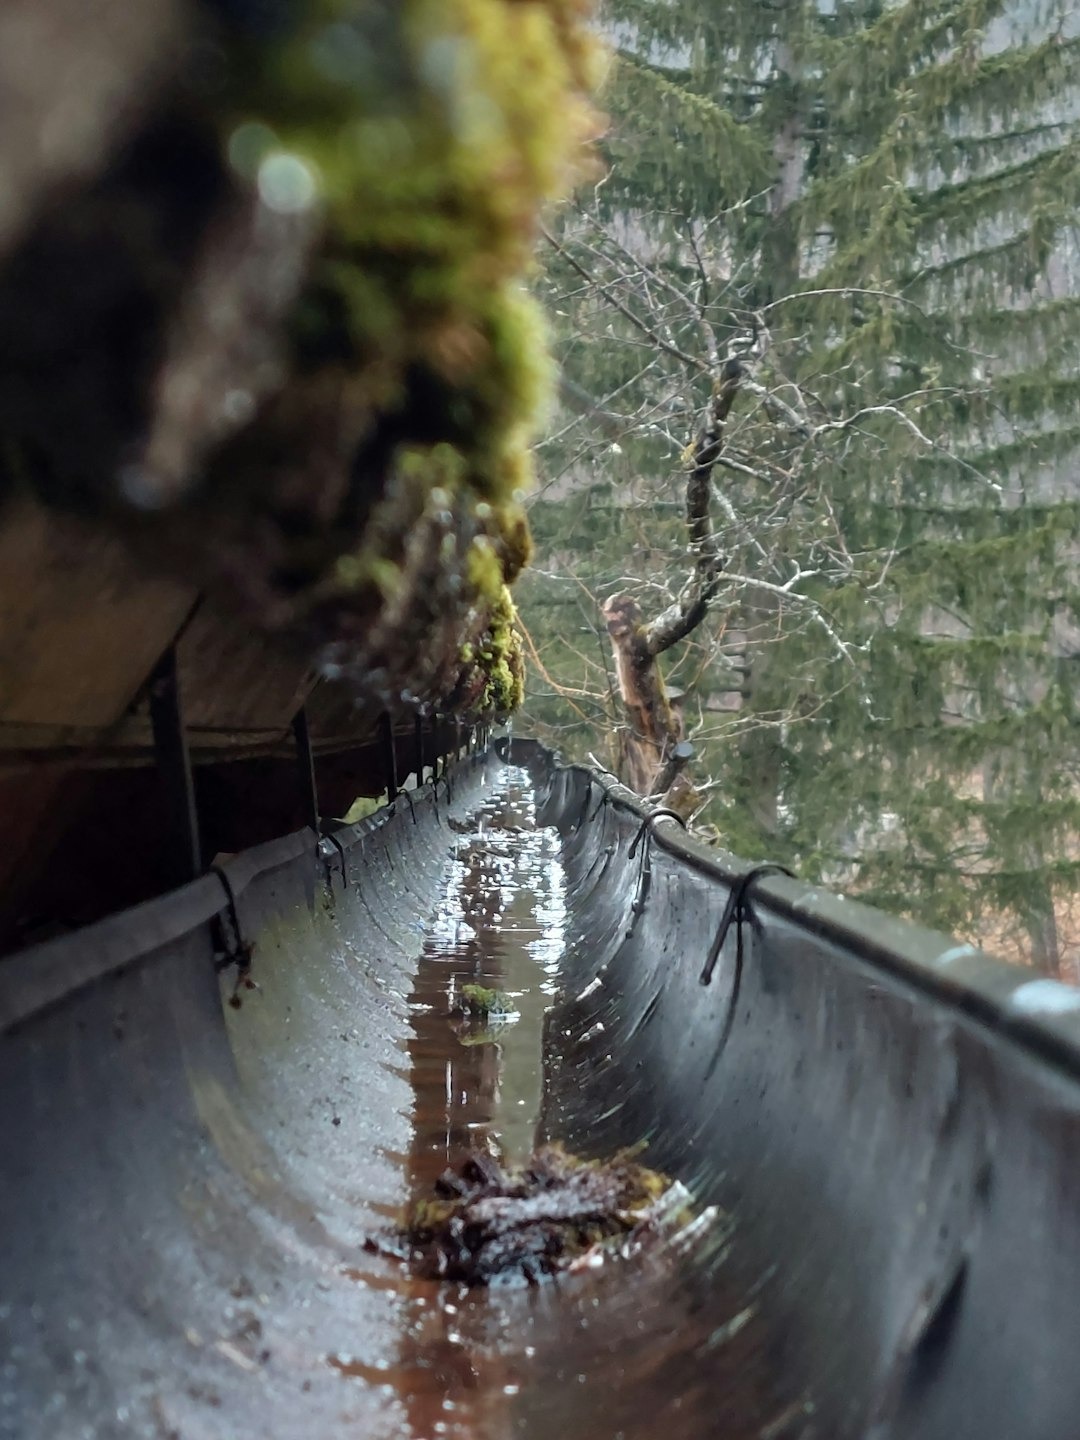
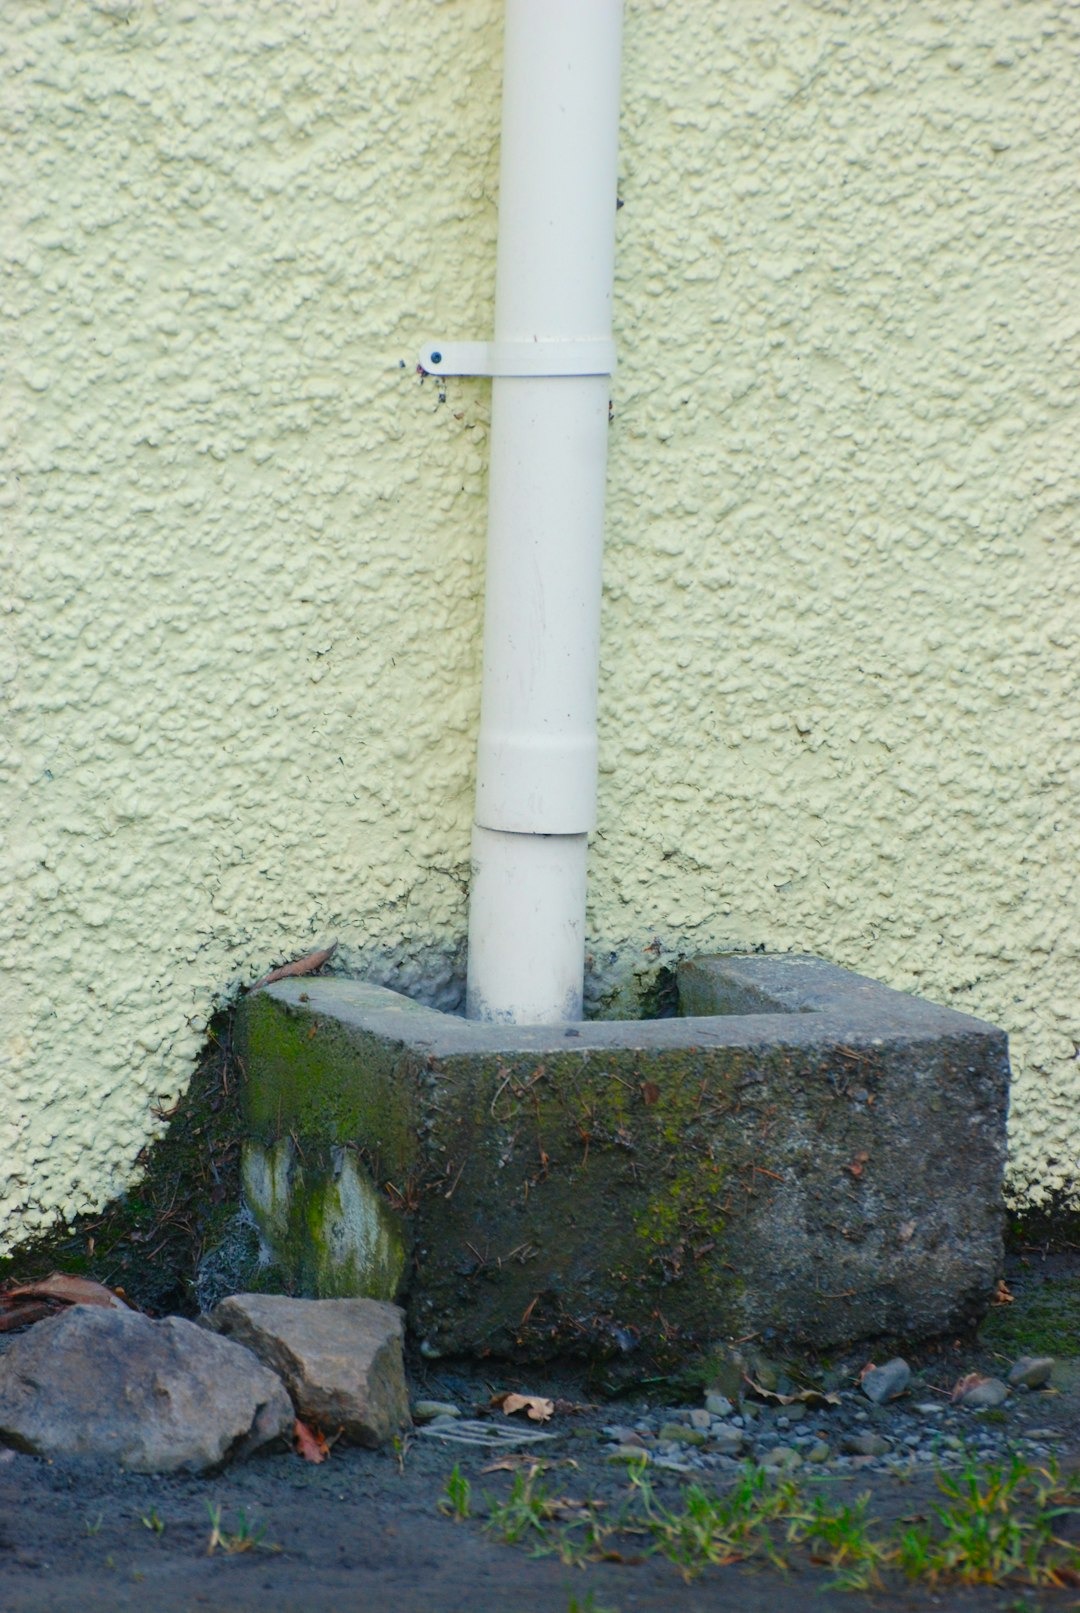
Install a gutter and downspout system if yours does not feature one. Gutters direct rainwater to a specific location, facilitating collection by efficiency and simplicity. Make sure the gutters are slanted appropriately and free of trash so water can run into your barrel or tank.
3. Prepare the Storage Tank
Depending on your space and collecting requirements, choose a storage container such as a rain barrel or a water tank. To build water pressure for later use, place the barrel under your downspout on an elevated platform, such as bricks or cinder blocks. To quickly connect a hose or fill a watering can, search for barrels with a spigot close to the base.

4. Install a Filter System
Next step, install a screen or filter at the top of your barrel to keep leaves, debris, and insects out of your tank. Certain systems additionally feature a first-flush diverter that empties the first filthy water from your roof before clean water gathers.
5. Create an Overflow Path
Your barrel is full now what happens? An overflow valve sends extra water away from the base of your house. One can even direct this flood into a second container or garden.
6. Make Use of Your Harvested Rainwater
Use the water you are gathering right now! With the correct plumbing configuration, rainwater is perfect for flushing toilets, cleaning outside spaces, and watering plants. Although it is not drinkable without treatment, it is a great way to help sustainability at home.
7. Maintain Your System
Before the rainy seasons, routinely clean your gutters, screens, and barrel. Good maintenance guarantees that your system maintains your water clean and useful as well as lasts longer.
Best Uses for Collected Rainwater

Garden irrigation: Use it to water plants, reducing your dependency on tap water.

Household cleaning: Ideal for washing cars, outdoor furniture, or windows.
Toilet flushing: Redirect collected water to your plumbing system with a pump.
The Bottom Line
One of the most sensible actions toward a greener, more eco-friendly lifestyle is building a rainwater harvesting system. It is also easier than you would believe. Using a few equipment and a weekend of labor, you will be saving money, conserving water, and adopting green technology right in your garden.
Ready to Live Greener? Visit Eco Choice Studio to learn more eco-living tips, eco-friendly products and green technology solutions. Join a community one drop at a time that is choosing better for the earth!

